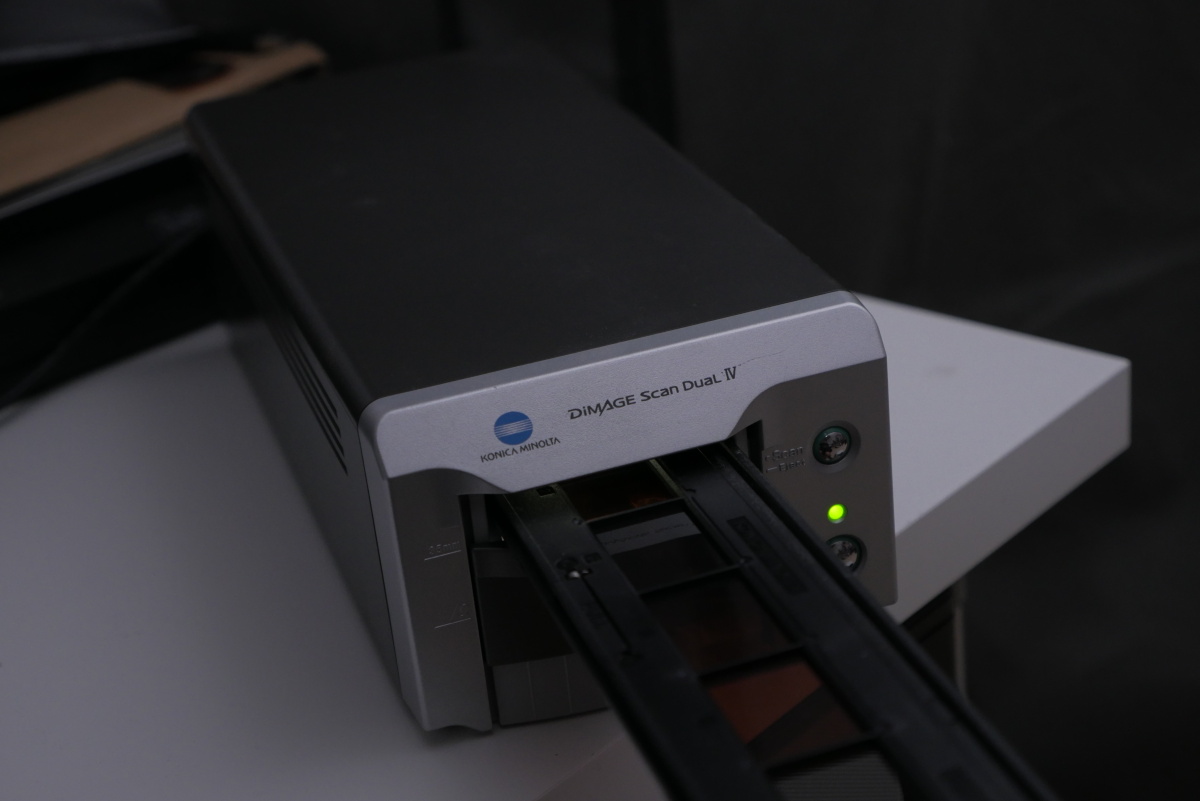
The Minolta Scan Dual IV was released in 2004 but is still a great choice for scanning negatives. The scanner can even be used with Windows 10, just google “Minolta film scanner Windows 7”. The user interface is intuitive and the resulting images have a very good image quality considering the low price tag of the scanner (around 100€ used).
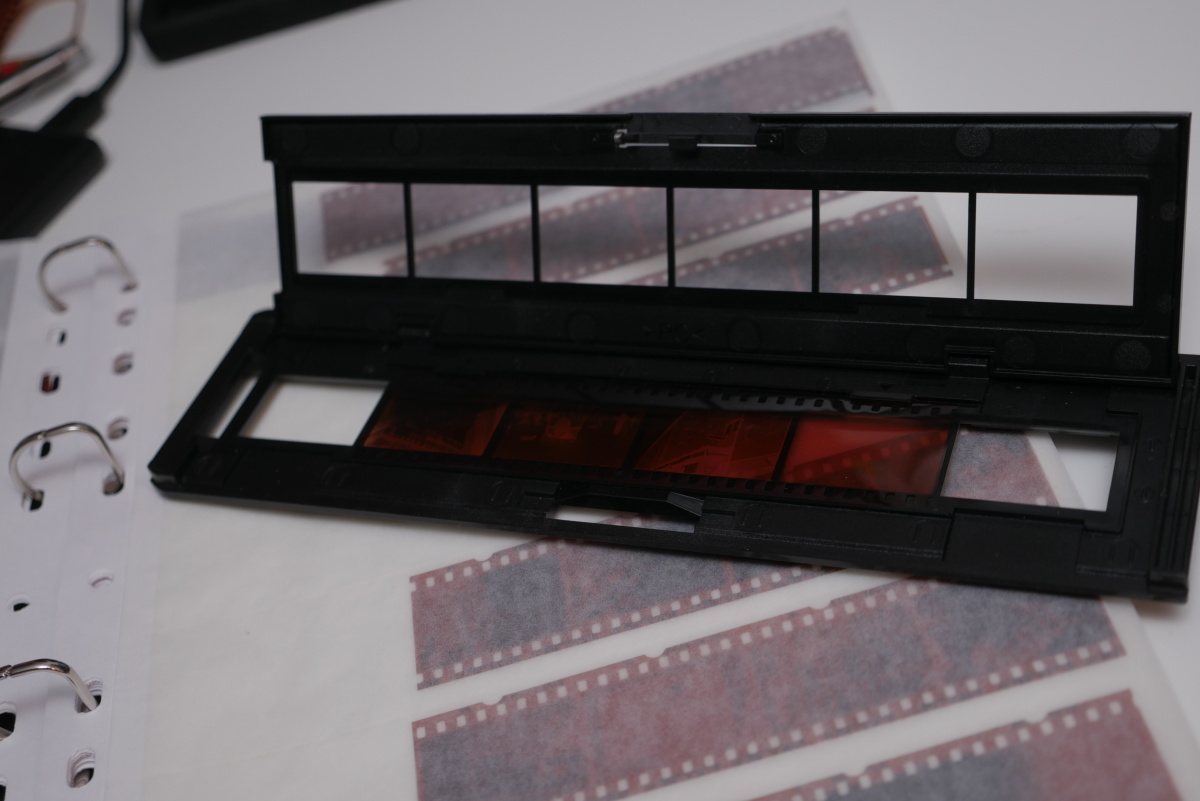
The first thing you need to do is to insert the film strip into the holder which fits up to 6 images. Then launch the scan utility and insert the holder into the scanner. Please follow the manufacturer’s manual to avoid errors (really).
The scanning process involves three steps: index scan, prescan and final scan.
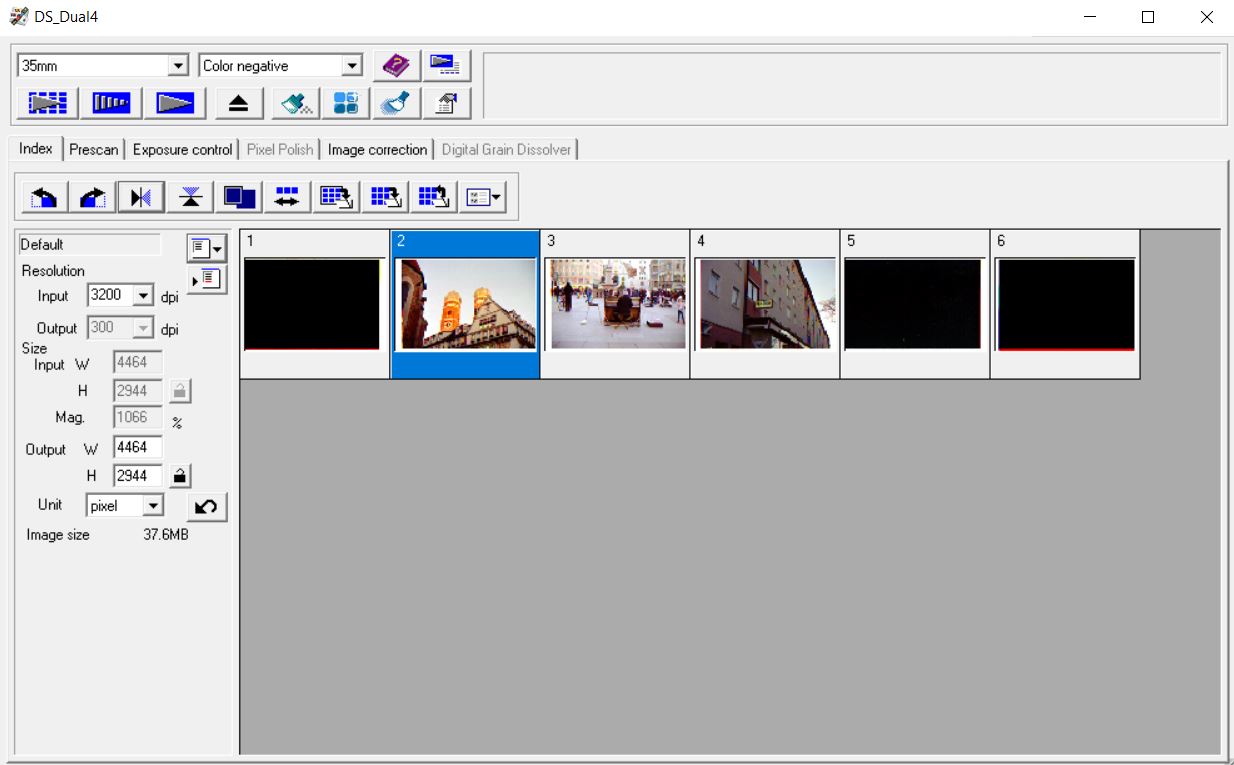
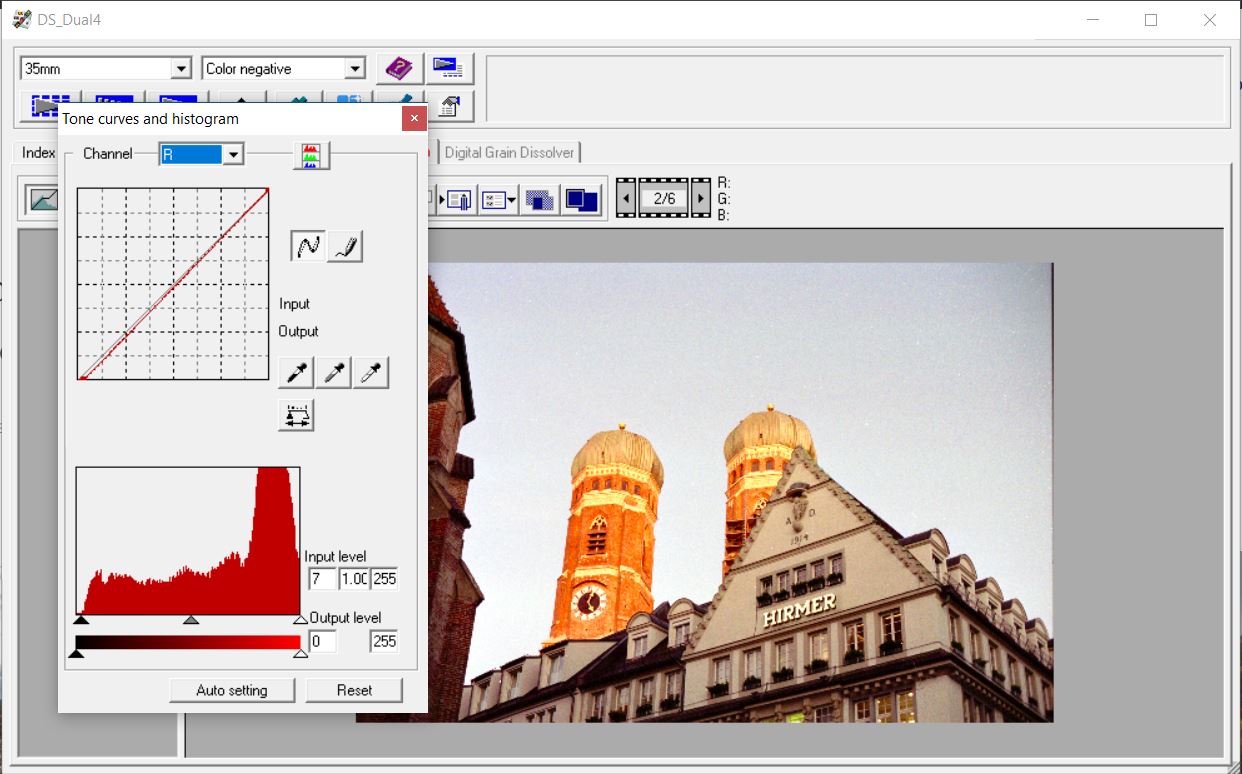
Usually the only adjustments I make in the scan utility are cropping, rotating images and level adjustments. I use the level sliders to adjust input levels (bottom and top) for every channel. This usually removes any color cast.
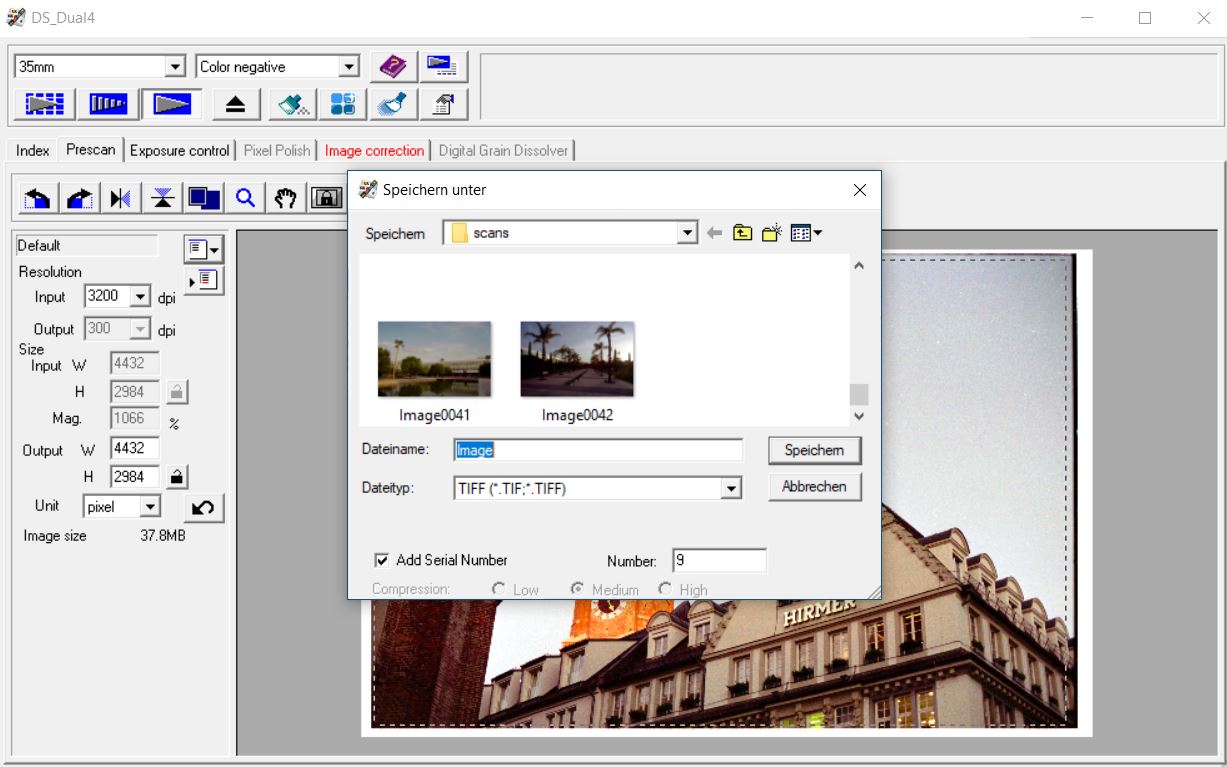
I scan the images with the highest possible resolution and save the output as TIFF to maintain a maximum of data for later editing.
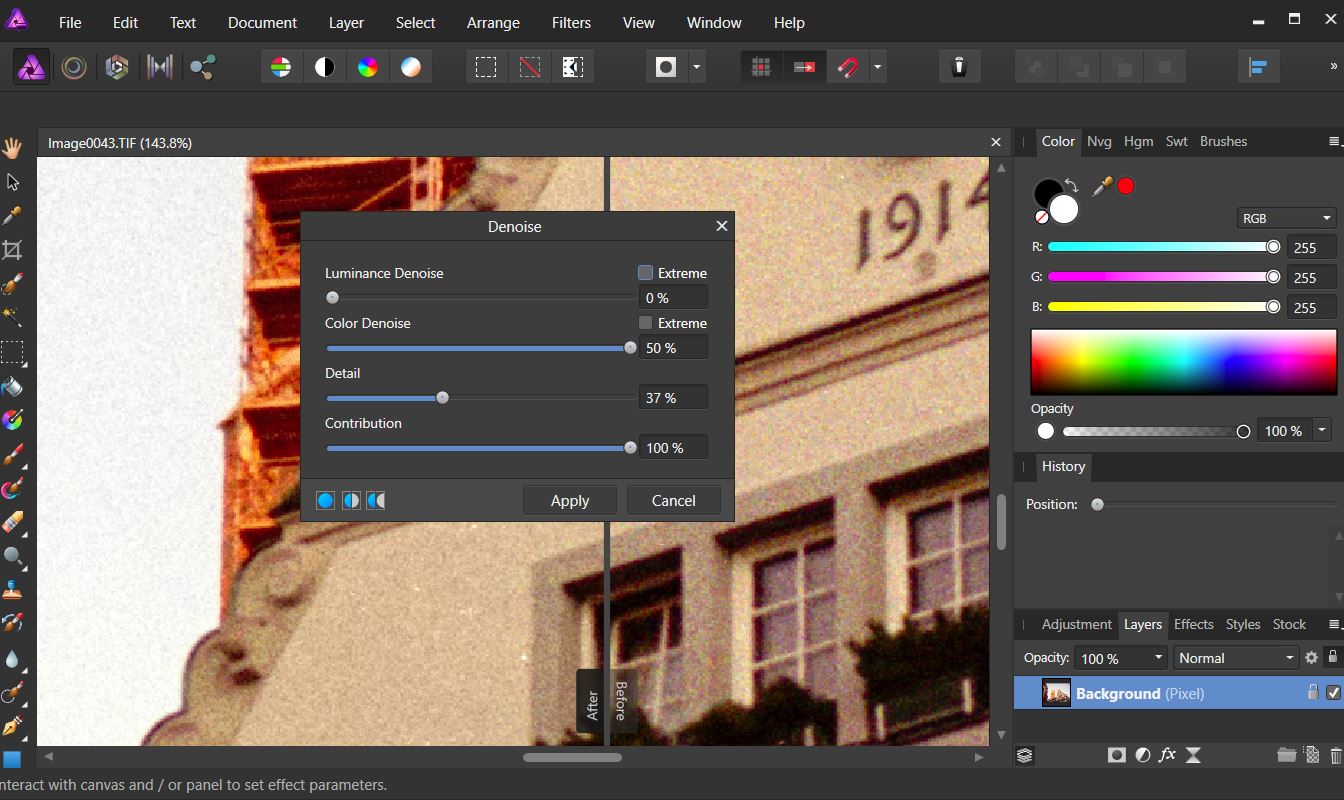
What I usually like to do next is to remove COLOR noise using Affinity Photo. Any other Software like Photoshop or Lightroom can be used as well. You can also add a slight high pass filter to increase sharpness. This will strengthen the film grain though.
Here you can find the final image. Just look at how many details are preserved in the bricks. Click here to download final TIFF file.